Vermicomposting in Therapeutic Gardening
Vermicomposting or Worm Farming is a great addition to a therapeutic gardening program. Worms are relatively easy to keep, requiring minimal weekly maintenance to keep them going.
Here are some valuable tips I have learned from tending worms for several years.
Choosing and Preparing Your Worm Bin
Containers and Bins: Finding the Right Home for Your Worms
You can keep worms in many different types of containers, and there are many DIY instructions and pre-made versions of worm bins through online searches.
So you can find one that suits your situation. The needs of the worms are very basic, air holes, drainage hole(s), so water doesn’t accumulate, bedding and food. I have successfully raised worms in recycled salad containers and restaurant dishpans sets. Currently our worms reside in a purchased rolling bin that looks like a trash can.
Red Wigglers (Eisenia fetida) are the best worms for your bin, they can be purchased online or at a bait shop. While you only get a small amount of worms from the bait shop, they multiply quickly.
Bedding, Food, and Care
Bedding Materials: What Worms Love to Nest In
- Shredded paper or cardboard, remove all plastic & metal for the paper source and do not use glossy paper or colored ink.
- Leaves
- Coconut fiber/coir
- Spanish Moss. Tillandsia usneoides (Graybeard, Long Moss, Old Man’s Beard, Spanish Moss) | North Carolina Extension Gardener Plant Toolbox
Note- while the worms absolutely love bedding in the Spanish Moss, and they quickly eat the soft outer coating of the plant, the inner fibers are tough, resemble human hair and take longer to break down.
The Initial Set-Up
You want to soak your bedding before putting it in the worm bed, then wring it out, leaving it damp like a wet rag. Add a scoop or two of good quality garden soil as a starter, your worms and food scraps.
Appropriate Food Scraps for Worms
- Fruits (Except for citrus)
- Vegetables
- Coffee grounds
- Tea bags (if plastic-free), loose-leaf tea
- Eggshells
- Herb and other soft plant material from the houseplants or the garden
Things to avoid in your worm bin:
- Any type of feces
- Hot pepper
- Onions
- Garlic
- Citrus fruits
- Avocado peels
I then top my worm bed with a layer of wet paper or cardboard, not shredded - to help keep the moist in the bin.
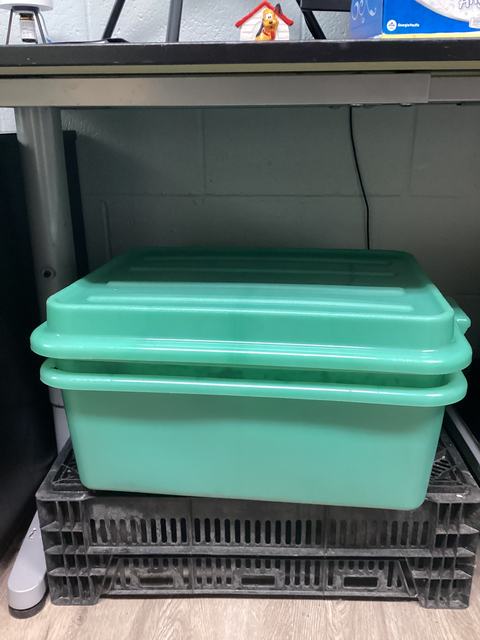
A bus pan is a wonderful example of what can be used as a worm bin.
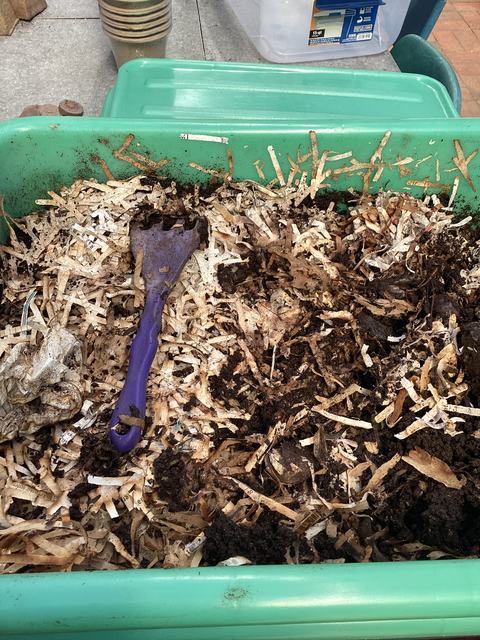
Shredded paper is ideal for worm bedding.
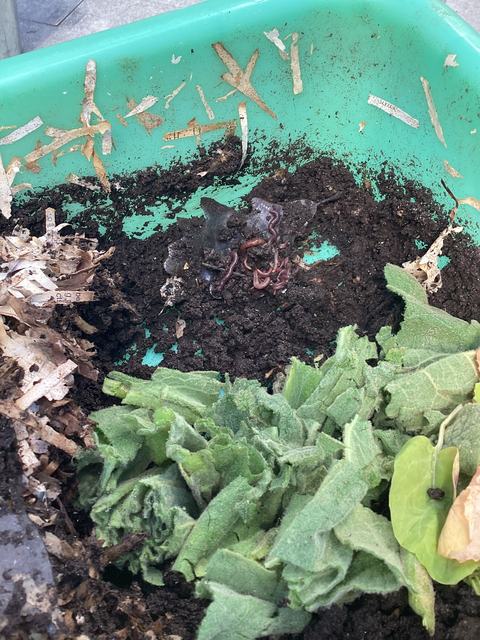
Mullein is an acceptable herb to add to your vermicompost as food.
Weekly Maintenance and Harvesting
Regular Check-ins
Check your worms at least once a week, making sure they are at a good temperature, have adequate moisture and food.
Harvesting Vermicompost
In four to six months after starting your worm bin you will be able to harvest your vermicompost. I find this to be the most difficult part of the process.You can harvest the compost by:
- Hand separating out the worms and any remaining compostable scraps - we will do this as a group activity
- Feeding you worms on only one side of the bin for several weeks and most to the worms will migrate to the food
- Dump out the contents of your bin onto some type of drop cloth in a bright location, the worms will move away from the light, scrape of the top layer of compost, wait a few minutes scrape again and repeat until you are done harvesting the vermicompost, as you work through the pile you will be left with clusters of worms and you can reset you worm bin.